UX designers know that we’d be lost without the help of product managers, software engineers, and other partners. Their feedback on our designs is essential to making products that work for everyone. But when we’re not all using the same tools, that collaboration can get a little rocky. It doesn’t have to be that way.
While Figma has become a natural habitat for our UX team, it’s still unfamiliar territory to many nondesigners. They can easily get lost in a maze of files and frames, with no sense of how or where to comment or extract code. That can make working together more complicated than it needs to be. Here are five ways to welcome other functions into your Figma designs and make collaboration easier and better for everyone.
1. Make Figma pages easy to navigate
Most design files hold dozens of frames, iterations, and notes. Finding your way around them can be overwhelming. On top of that, different designers use different methods to say which parts of the files are ready for implementation and which are still in progress.
To make it easier for someone new to get oriented, start by cleaning up your file name and page list. Use names that make it clear which design is current, which ones were explorations, and such.
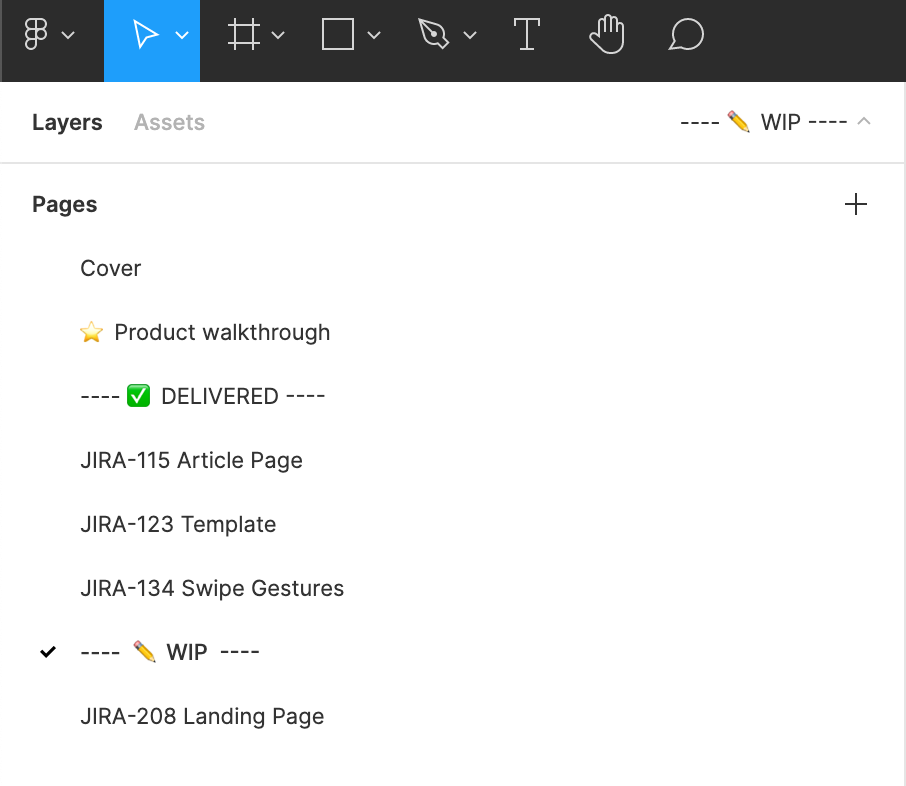
It helps to use a consistent style for your page names in Figma. Think about your partners and what will make sense to them. A lot of teams use tools like Jira and Trello to organize tasks and stay connected. Try using the same naming convention across Figma and Jira, Trello, or whatever products you use to organize your tasks.
For example, if you’re all working off of the same ticket in Jira, then you could use the ticket’s tracking number, like JIRA-123. If you’re not sure your collaborators will recognize that number, it’s a good idea to add a short description of the project as well. For example: “JIRA-134 Swipe Gestures.”
If your project has pages from multiple design stages, add dividers to split up files. In the screenshot above, the pages are grouped into sets. It’s helpful to add named dividers between groups.
An emoji like a green checkbox can show partners at a glance what’s ready for attention or implementation. If you use several emojis with different meanings, like a pencil for explorations, or a filing cabinet for archives, use them consistently.
When you invite someone to Figma for the first time, let them know that they can use the page list on the left to move around.
2. Organize your Figma frames
On your pages you’ve got all the frames that make up the parts of your design. Frames have a way of multiplying and it can be hard for a newcomer to know which ones to focus on. You can help collaborators find their way to the right place by collecting them in groups. Give each collection a clear, consistent label that’s easy to spot. Use a large type size — people will likely be zooming out to try to get a sense of what’s where on the page when they first arrive.
3. Set collaborators up to use comments
As designers, we want the whole team involved early in the process so that we can get the most out of the designs and have them ready faster.
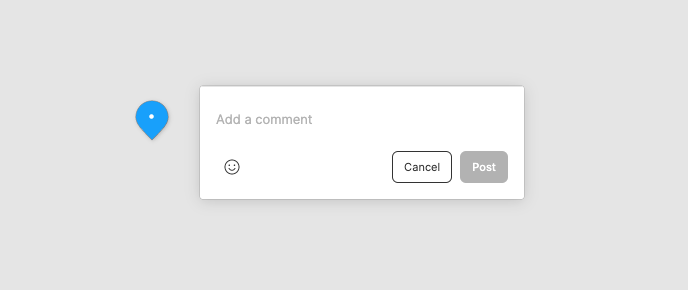
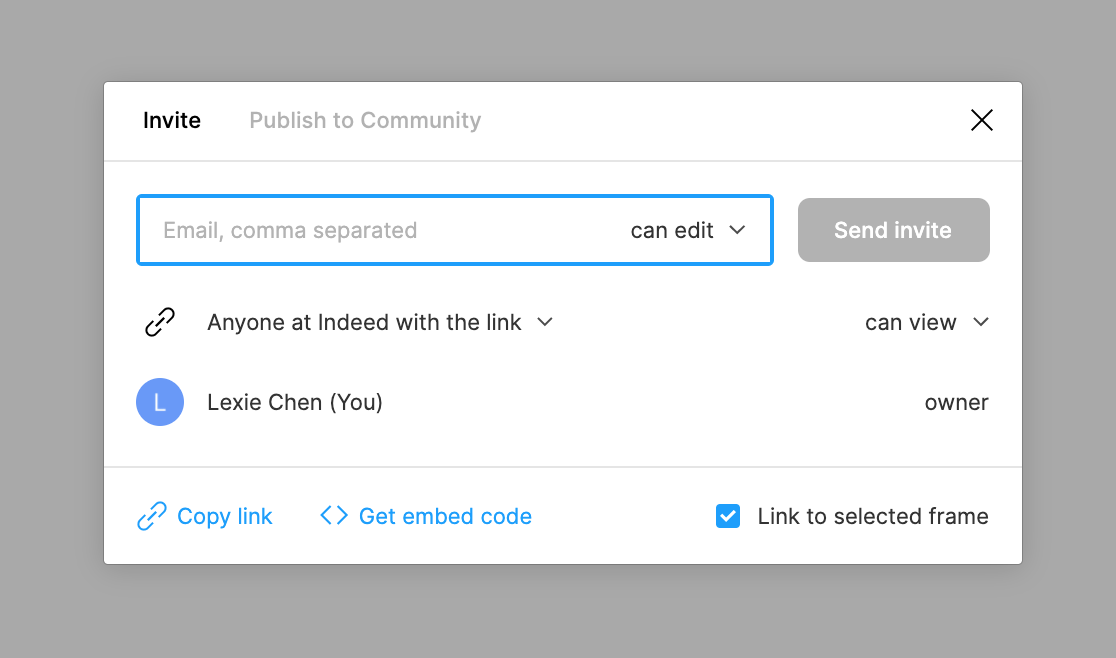
To prepare collaborators to give feedback, first set the right level of permissions. If they only need to respond to the design, choose “can view” access. This makes it clear what interaction you expect from them, and it saves them from making accidental changes to your work. If they’re true first-timers, send them the link to the Figma help page on comments. It’ll tell them how to attach each comment to a specific object and how to tag you or other teammates for notification.
For more in-depth co-creation, you may want to give your collaborators “can edit” access to your file. If you do, be clear what you’d like them to work on, and where. Better yet, make them a copy of the design you want them to work on, label it, and link them right to it.
4. Use links to frames to send collaborators right where they need to go
The best way to make sure your partners get to the right place is to send them a link to the specific frame you want them to see.
5. Make work easier for developers with the code panel and shared styles
When you hand off your Figma files to developers, they’ll go right to the code panel to pull your design’s visual specifications so they can begin building it. By clicking on a layer, they’ll be able to see its data in easy-to-copy code and table formats.
You can make their work even easier by setting up shared styles for your project. They can use these to set overall design variables for colors, grids, effects, and so on. Here again, clear, descriptive names will help them know which styles to use where.
6. Prepare exports in advance to avoid confusion
To share Figma images with partners who need to use them for development or marketing, define your export settings before handoff. Doing this saves them time and helps you make sure your partners get the right files in the right format and at the right scale.
First, set the export settings for the individual designs you want to share. And remove settings from the designs that your collaborators don’t need. If they want more than one file, direct them to the export list. They can go to the File menu and choose Export. The modal that pops up will only show the designs with export settings. Collaborators can take them all, or just select the ones they need.
I hope these help you next time you invite nondesigners into your Figma designs. If you have more tips that you use with your collaborators, please let me know!